| Modeling
the Mobile V2 Batterie
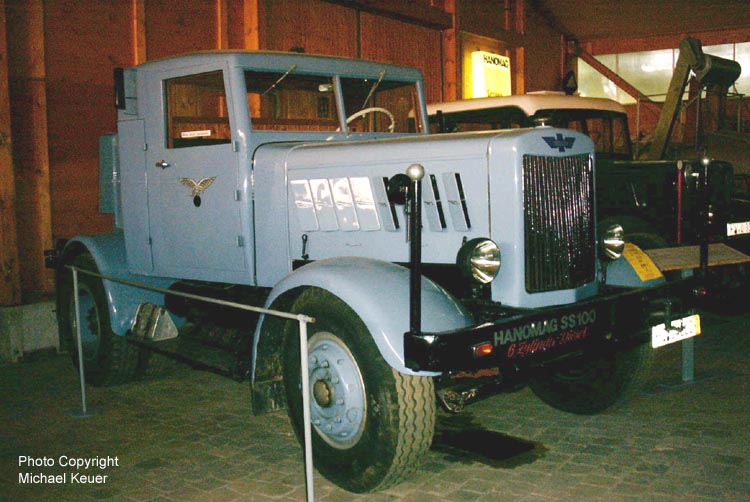
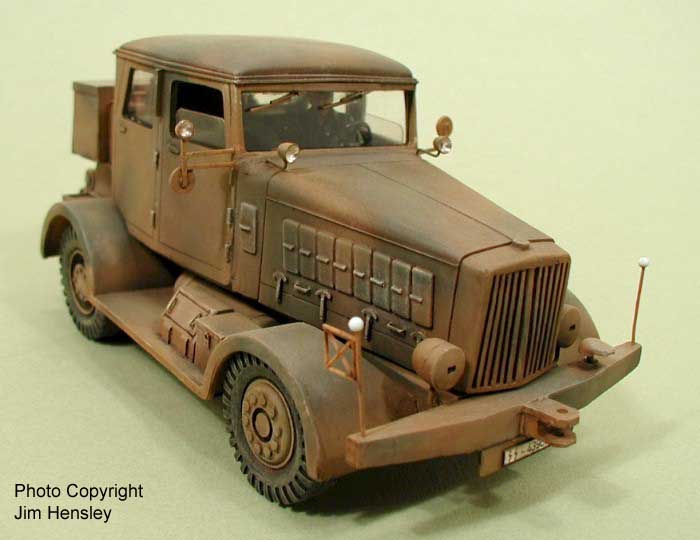
THE HANOMAG SS-100 TRACTOR (by Jim Hensley) APRIL 2001 - The German company Hanomag made several models of a heavy tractor of which the SS-100 was the best known. It had both a two door and a four-door version. The four-door version has a double cab, which could carry a crew of five or six. Production of the SS-100 continued from 1936 to 1945. The design continued to be produced after the war as the ST100 and ST100W including some for the French Army. The Hanomag road tractors of all sizes were popular as fairground transport well into the 1960's. Basically, the Hanomag SS-100
tractor was a civilian vehicle that was pressed into military service.
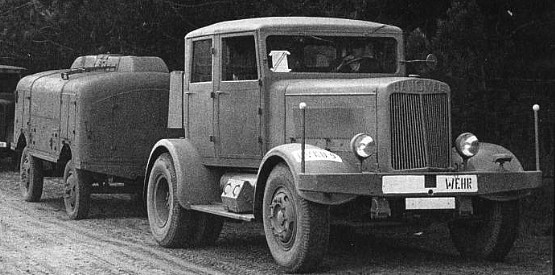
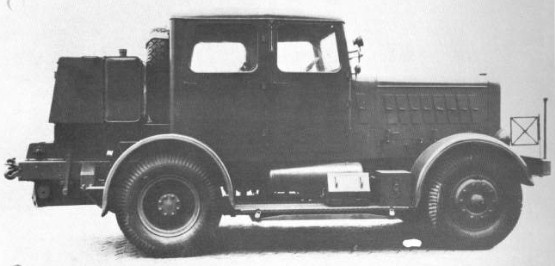
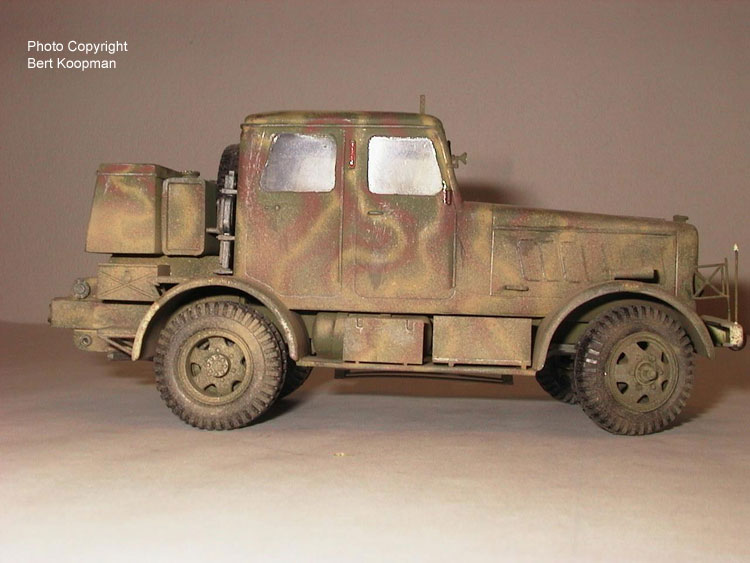
Seen
below is the civilian version - the type N with a short cabin, just one
row of seats. This is the civil version of the SSN-100. The Wehrmacht version
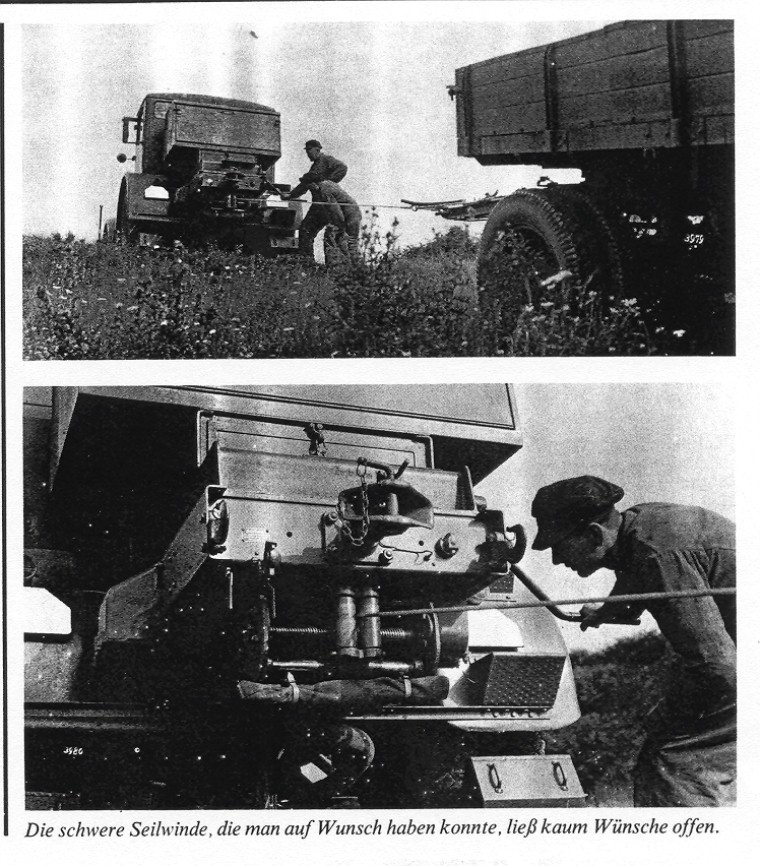
had a bigger cabin and a winch.
Als Dauerausstellung ist neben den legendären HANOMAG Schleppern der Fertigungszweig PKW und Strassenzugmaschinen angeordnet. So werden neben der gigantischen Zugmaschine SS 100 auch kleinere Zugmaschinen vorgestellt. Its civilian designation was Gigant. Both the Army and Luftwaffe units used it. The Luftwaffe units used it primarily for towing airplanes, bombs, and gasoline trailers. V2 units used it for towing the Vidalwagen which transported the V2 rocket from the railhead to the launch units preparation facility. It was also used to tow the Meillerwagen, which transported the V2 rocket to the launch site and erected the rocket. Additionally, the Hanomag was used to tow other trailers such as the B-Stoff trailer.
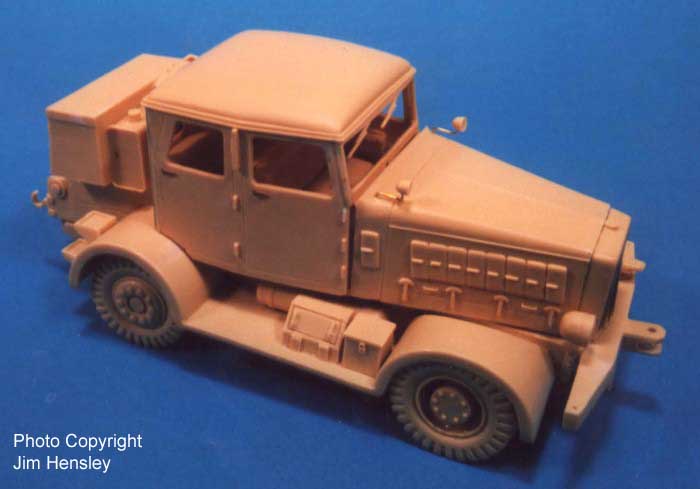
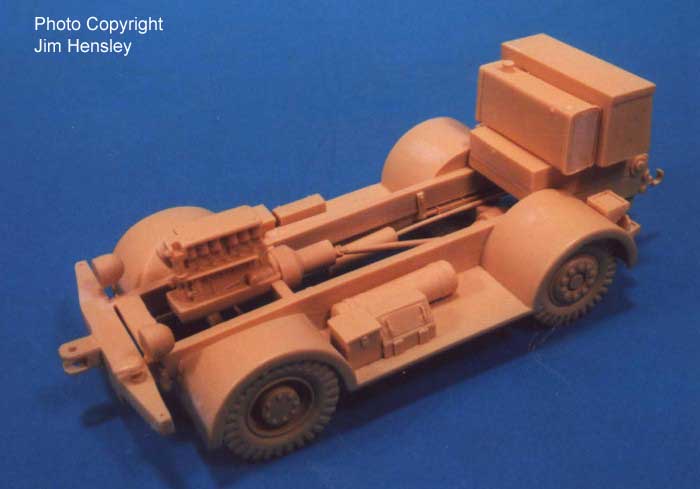
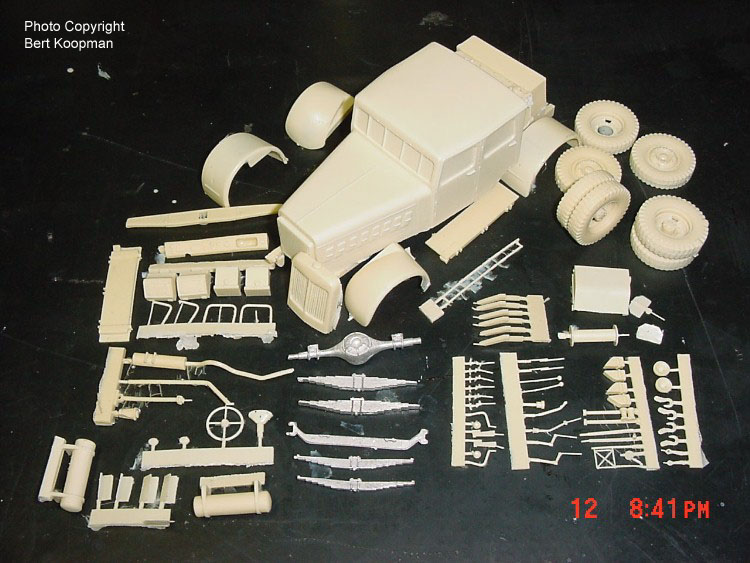
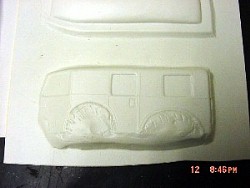
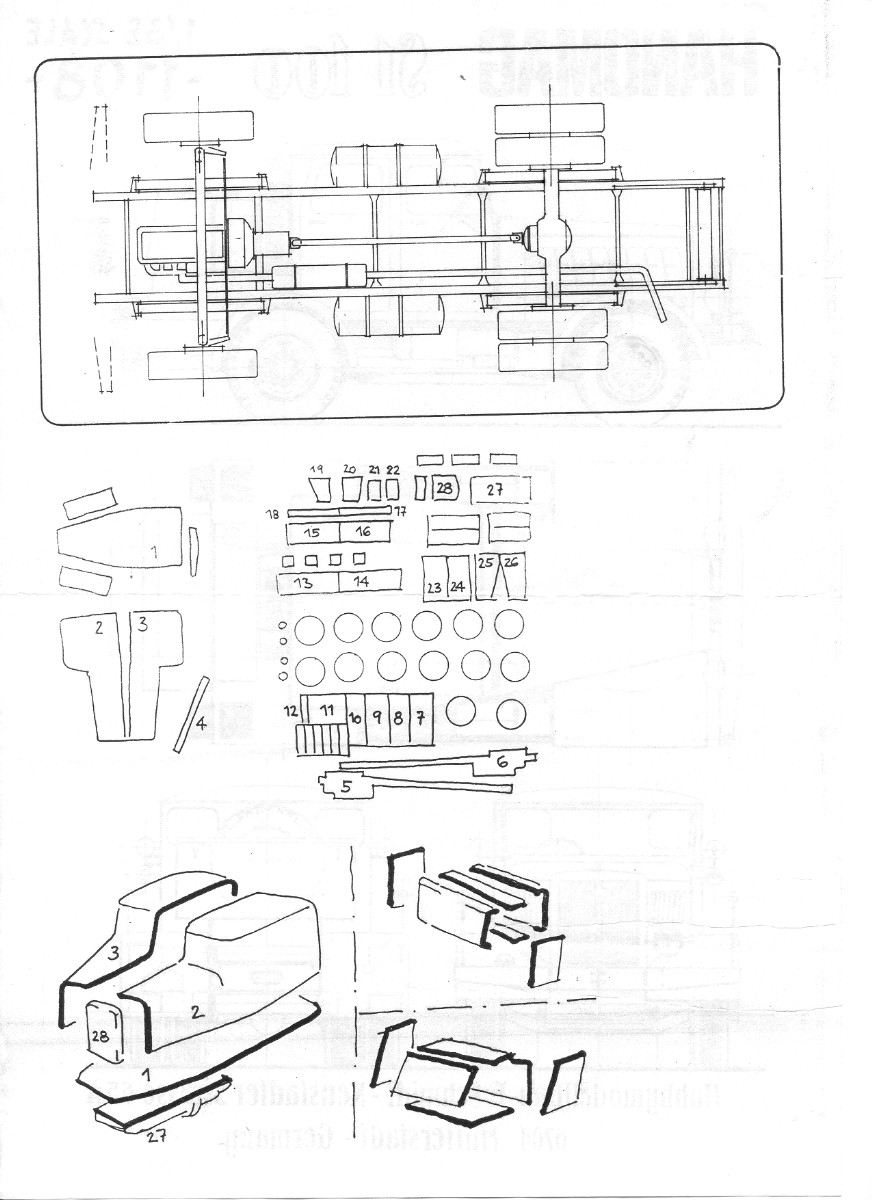
The Mini Art kit is 100% resin cast in a beige color. It is a simple kit but has some good detail. The 3-page instruction, counting both sides, is very rough. Some parts are not even show in their correct positions. This kit requires additional reference to assemble which is not easy considering the lack of reference material available. There are a number of small pour plugs but not many. The detail is excellent and it includes a complete engine and transmission. I tried to follow the directions but there is so little it was difficult. There are four illustrated steps but they only cover some of the parts. The rest you are left up to figure out. There is an exploded view that sort of helps. I started by gluing the engine
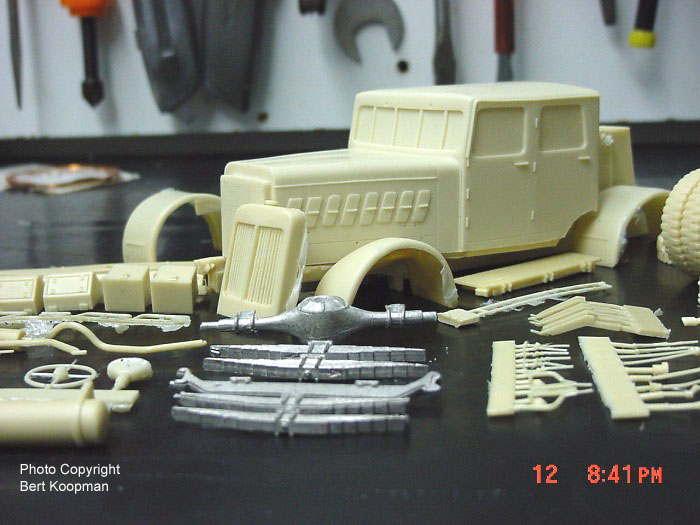
hood on the frame and the seats into place. I also glued the sides and
top together then added the back of the cab. I did not attach the cab on
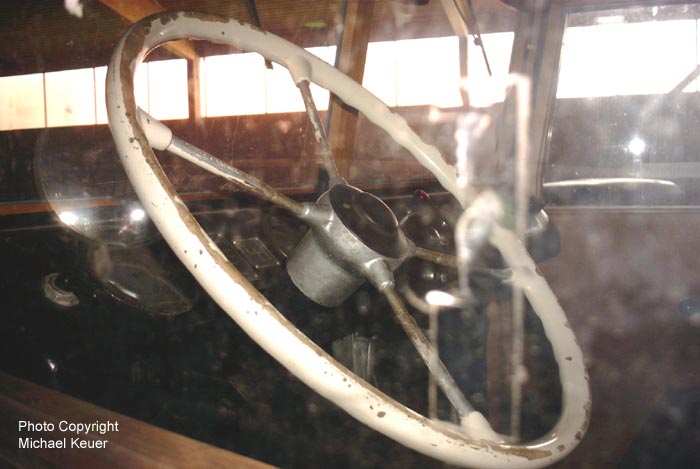
the frame till after painting the interior. I also left the instrument
panel and steering wheel till later.
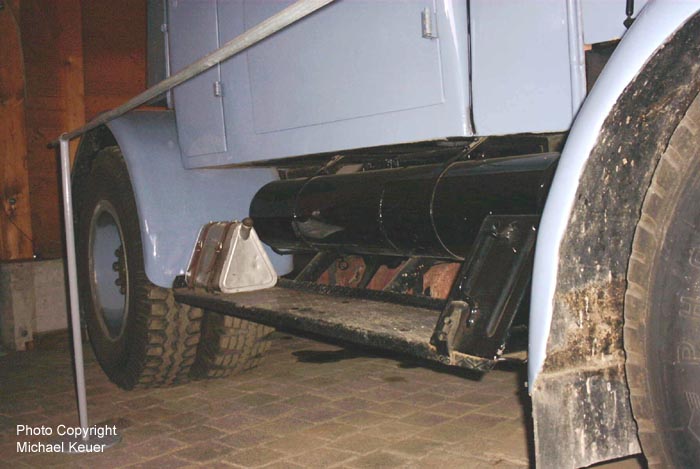
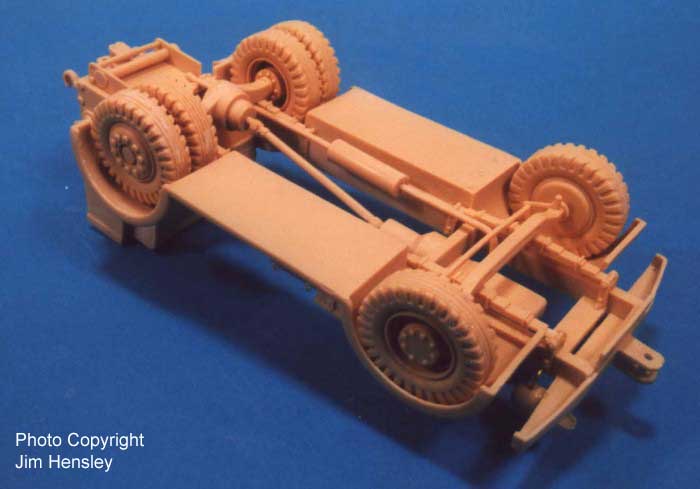
I glued the suspension system on but left the wheels off till after painting. I also checked that all six tires rested on the table since the suspension is rather weak. The exhaust pipe is one piece including the manifold so it took some doing to get it into place and the instructions don't help at all on this. I glued the front and rear pieces on the frame. There are several lights that are very delicate and I decided to leave them off till later also. I wanted to have a figure sitting in the cab waiting to tow whatever away. I used one of the figures from the Warriors Steyr 1500 Crew. I did not modify him except made sure he sat right in the drivers seat correctly. I used MV lenses throughout the kit for the three search/spot lights and a red one for the taillight. For the instrument panel I used a leftover acetate dials from another kit. I painted the interior first.
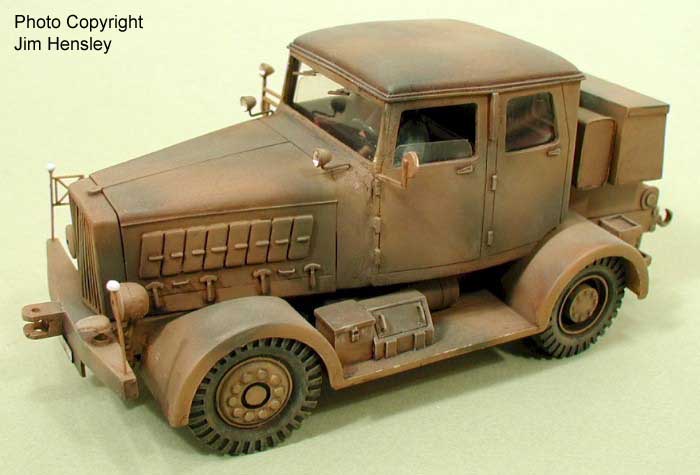
I sprayed it a mixture of Polly Scale dark yellow and tan. I then painted
the leather seats brown and the steering wheel black. I gave it a wash
of 50/50 black burnt umber oil paints. I dry brushed the interior then
glued the driver, instrument panel and steering wheel in. I taped over
the seats and drive and the interior of the cab with masking tape. I then
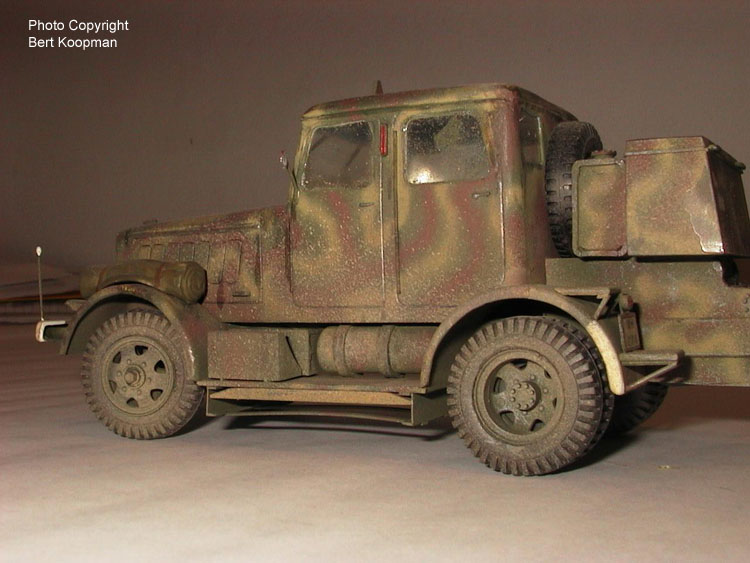
sprayed the whole exterior of the vehicle with Polly Scale German dark
yellow. I painted a camouflage pattern over the vehicle using Polly Scale
dark green.
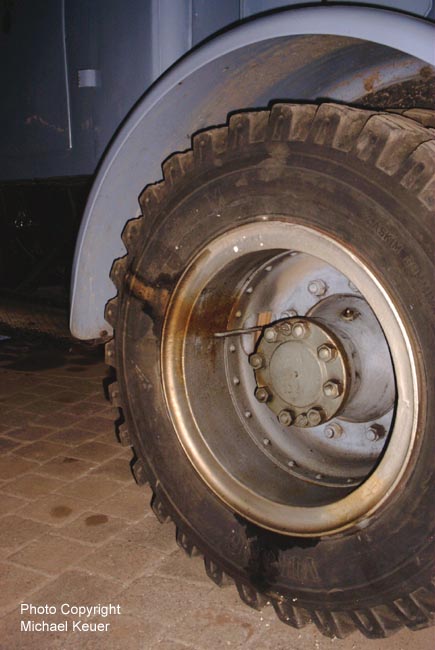
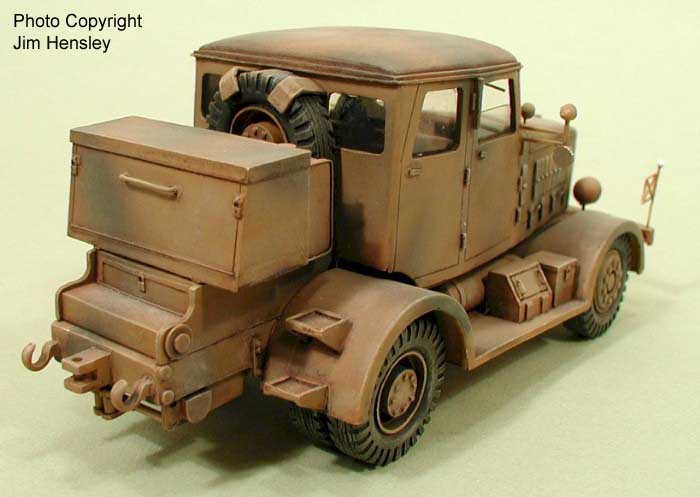
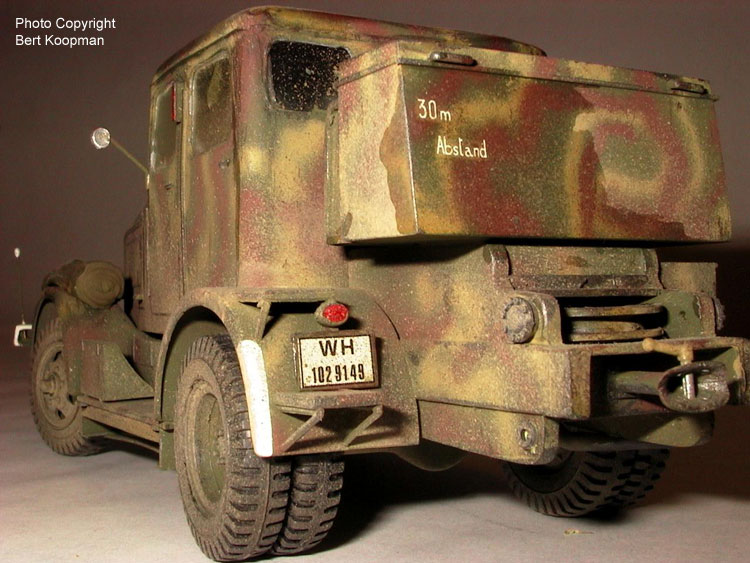
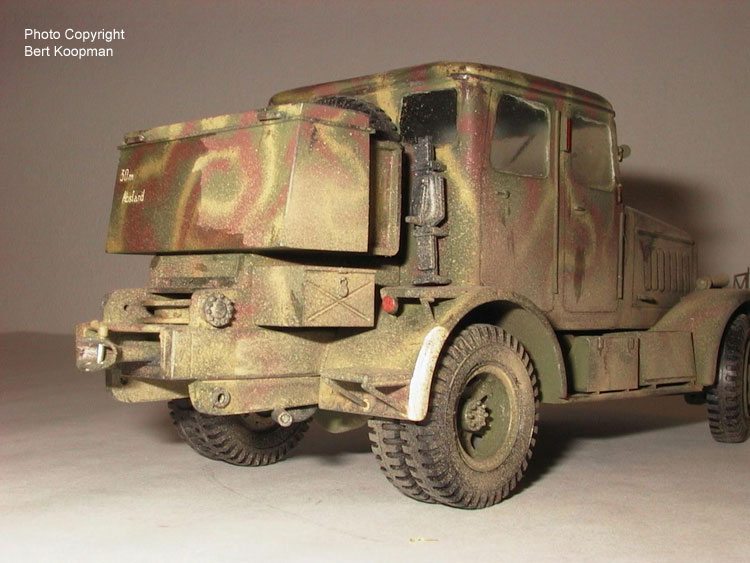
The tires were first painted black then the hubs were also painted dark yellow. Using Archers new German WW2 license plate decal sheet I added SS license plates for the front and back. I then gave the vehicle a wash of 50/50 black/burnt umber. I dry brushed the vehicle with white titanium, yellow ochre, and burnt umber oils. I then glued the tires on. Now I added the windows. This was the reason I could not put the top on sooner. I glued clear acetate pieces inside the cab. None came with the kit. I then glued the top on. I had a difficult time filling the gap between the cab and hood. I then masked and sprayed the filled gaps. I then added the MV lenses for the spotlights and taillight.
CONCLUSION This was the first of my kits to build for the planned V-2 launch diorama. This was an easy kit to build but a bear to complete because of the windows. I sure wish I could have figured a better way to put them in after the cab was attached to the body but I couldn't and still can't. I hope I don't have to build this one again but I am afraid I will need a second one for the V2 diorama. MATERIALS Mini Art Studio: Hanomag
SS Tractor
REFERENCES Allied-Axis Photo Journal
of the Second World War, Ampersand Pub. Co., USA 2000
Special thanks to Jim Hensley. |